Zhi Shen Yong
My name is Zhi Shen Yong and I am a software developer. Here you can find a few of the projects I have worked on in the past. Please feel free to contact me for any additional information.
5 February 2018
Garage System and Remote Control
In this project I use a Particle Photon to build a mock garage system that can be controlled by a web app and a mobile app. Any input or output on either the garage, web app, or mobile app is synchronized across all three platforms due to the use of Publish/Subscribe techniques.
Table of Contents
- Garage System
- Web App
- Mobile App
1. Garage System
There are a number of requirements that need to be satisfied by the garage system, including but not limited to, functionality of the garage door, a garage door auto-close feature, and a garage light auto-off feature. I programmed the Particle Photon microprocessor that controls the garage system in such a way that it encloses the system logic needed to allow the garage system to function properly, but relies on external sensory input, such as detecting when an opening door has opened all the way. This way, the microprocessor can be connected to work with a real garage. For testing purposes, I built a mock garage system with a breadboard, a couple of LEDs, and a couple of sensory input wires, which I hooked up to the microprocessor to test my web app and mobile app.
Below is a picture of of the mock garage system.
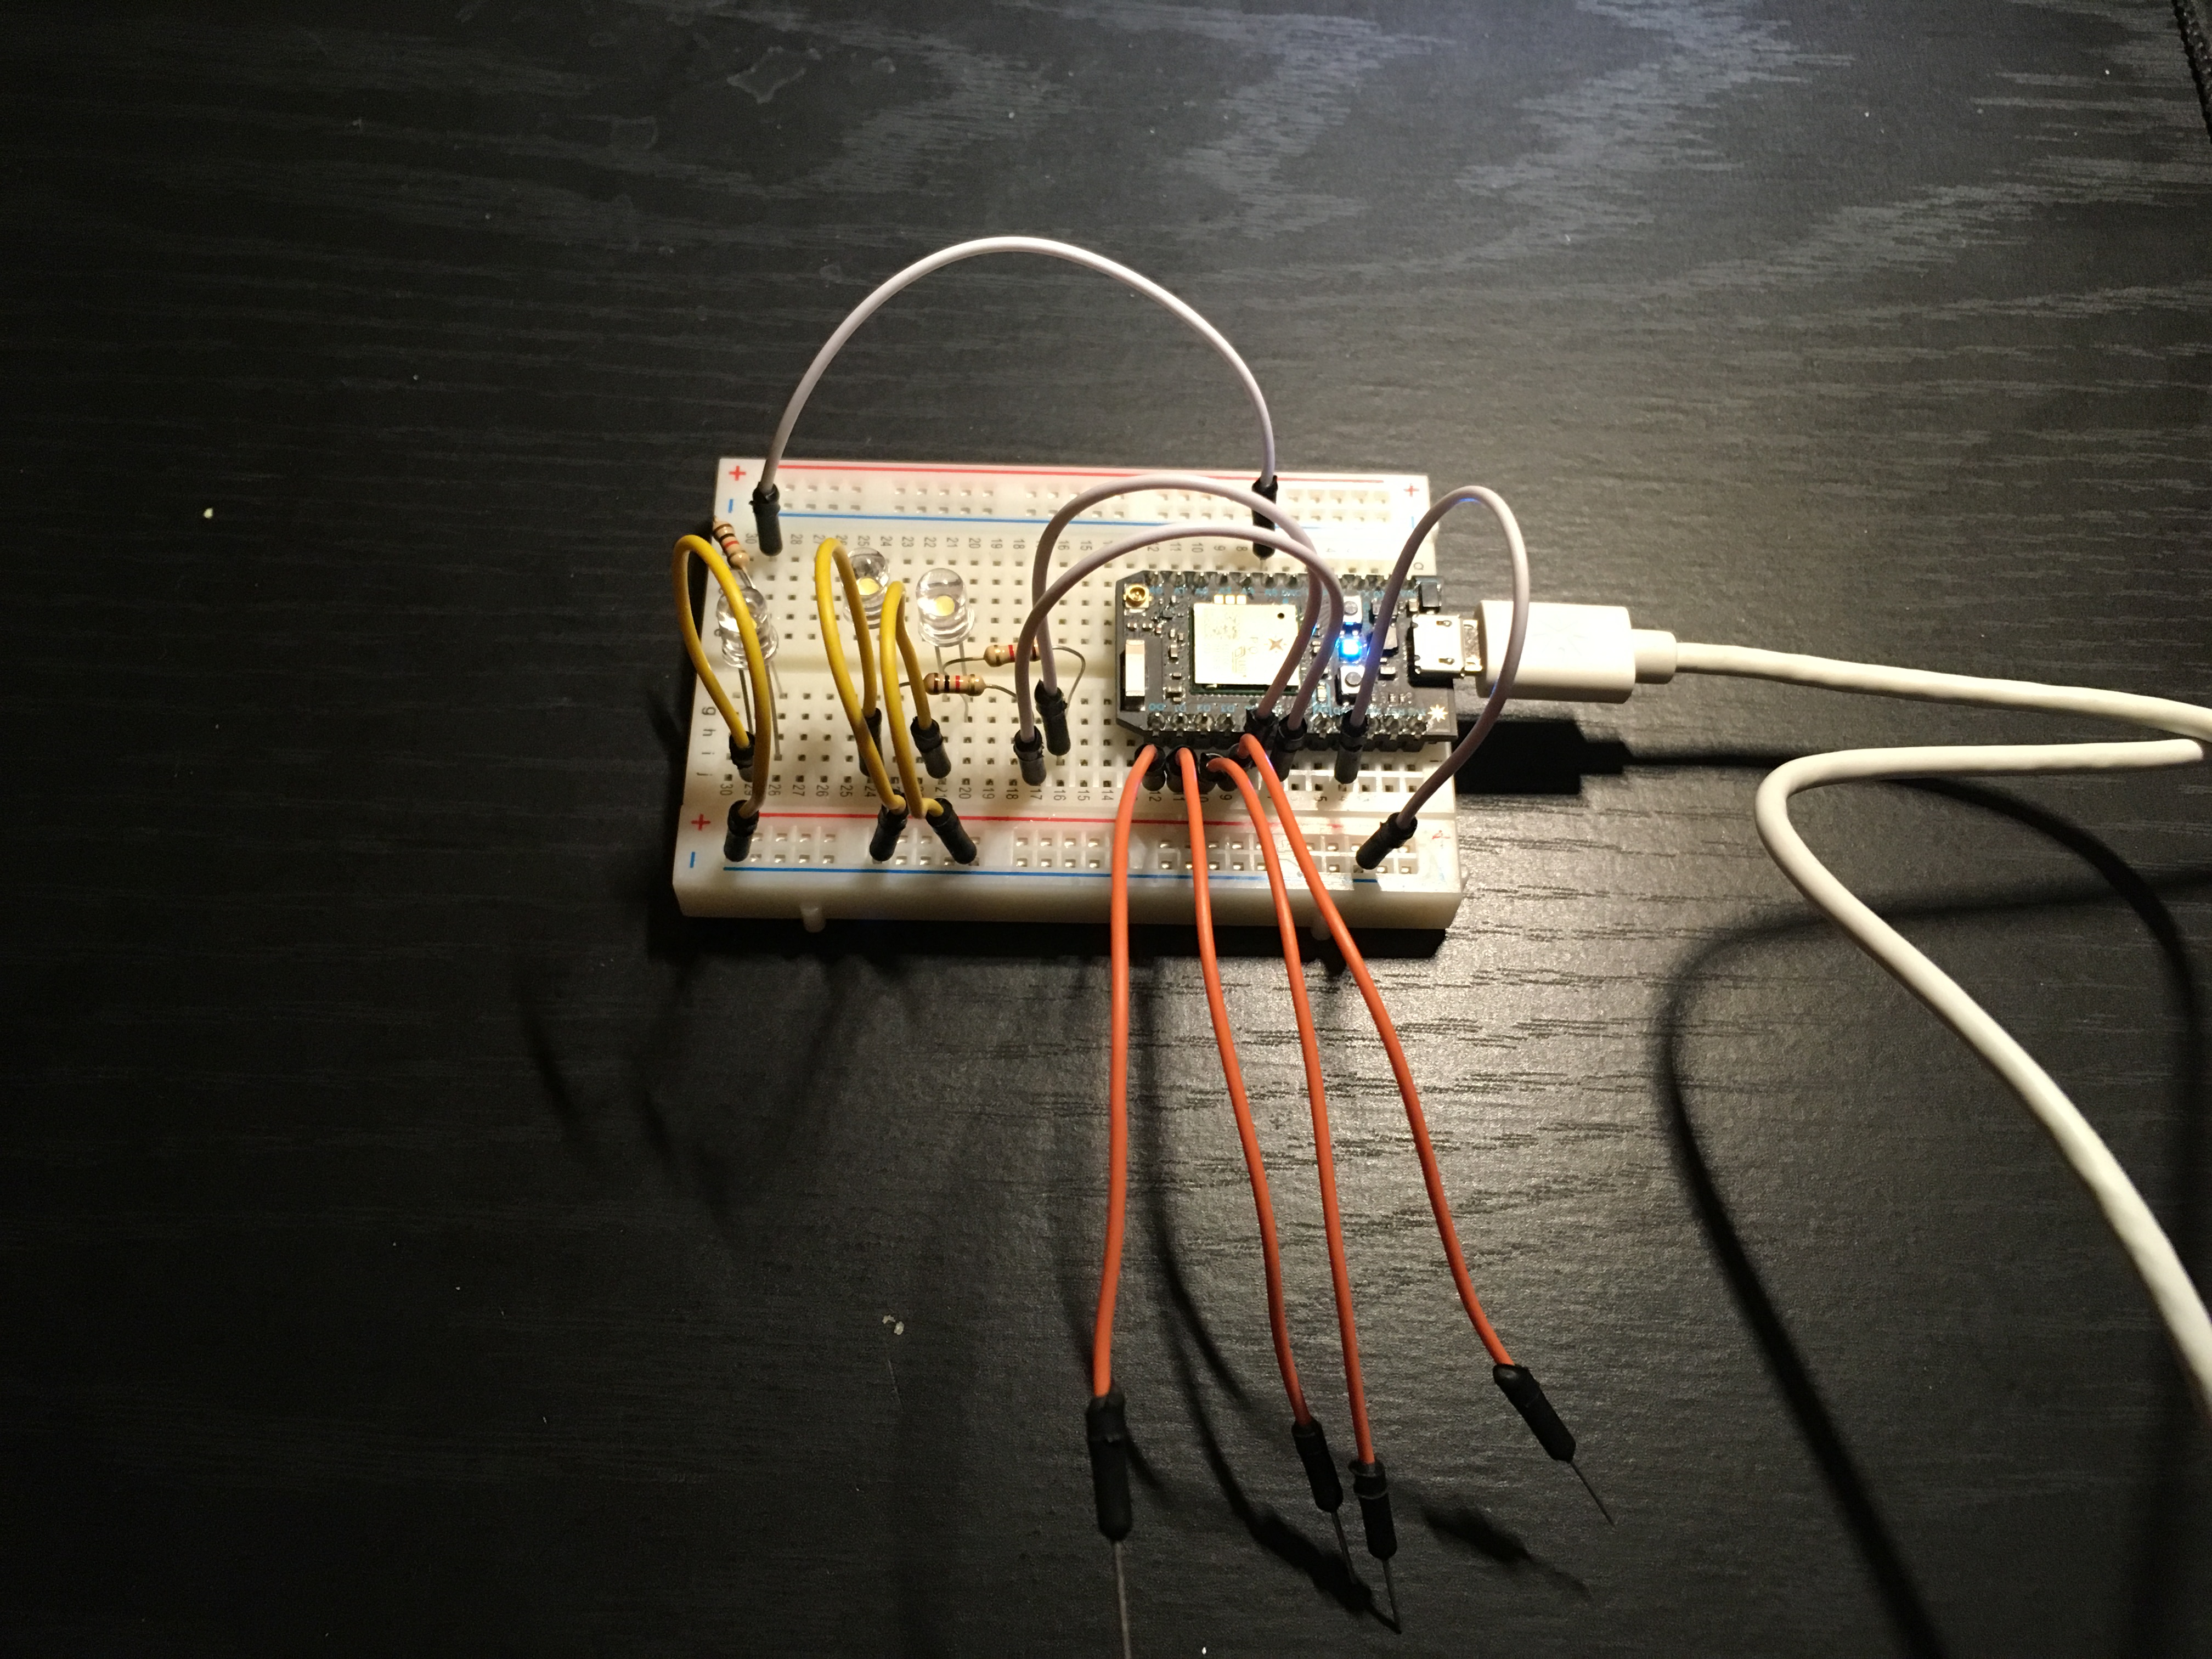
The Particle Photon microprocessor is situated on the right side of the breadboard (with the small blue light). On the left, there are 3 LEDs. One of the LEDs represents the garage light. This comes on whenever the garage door moves, and after the garage door stops moving, it fades to dark after a specified time which can be changed on either the web app or the mobile app; this is the garage light auto-off feature. The other two LEDs represent the garage door opening and closing (I did not build an actual garage door). The four orange wires represent external sensory inputs, including an input for when the door has closed fully, when the door has opened fully, when the door has faulted, and when the garage door button (which switches between garage door states) has been pressed. The inputs are triggered when the wire briefly touches GND.
Below is another picture of the mock garage system while the garage “door” is opening.
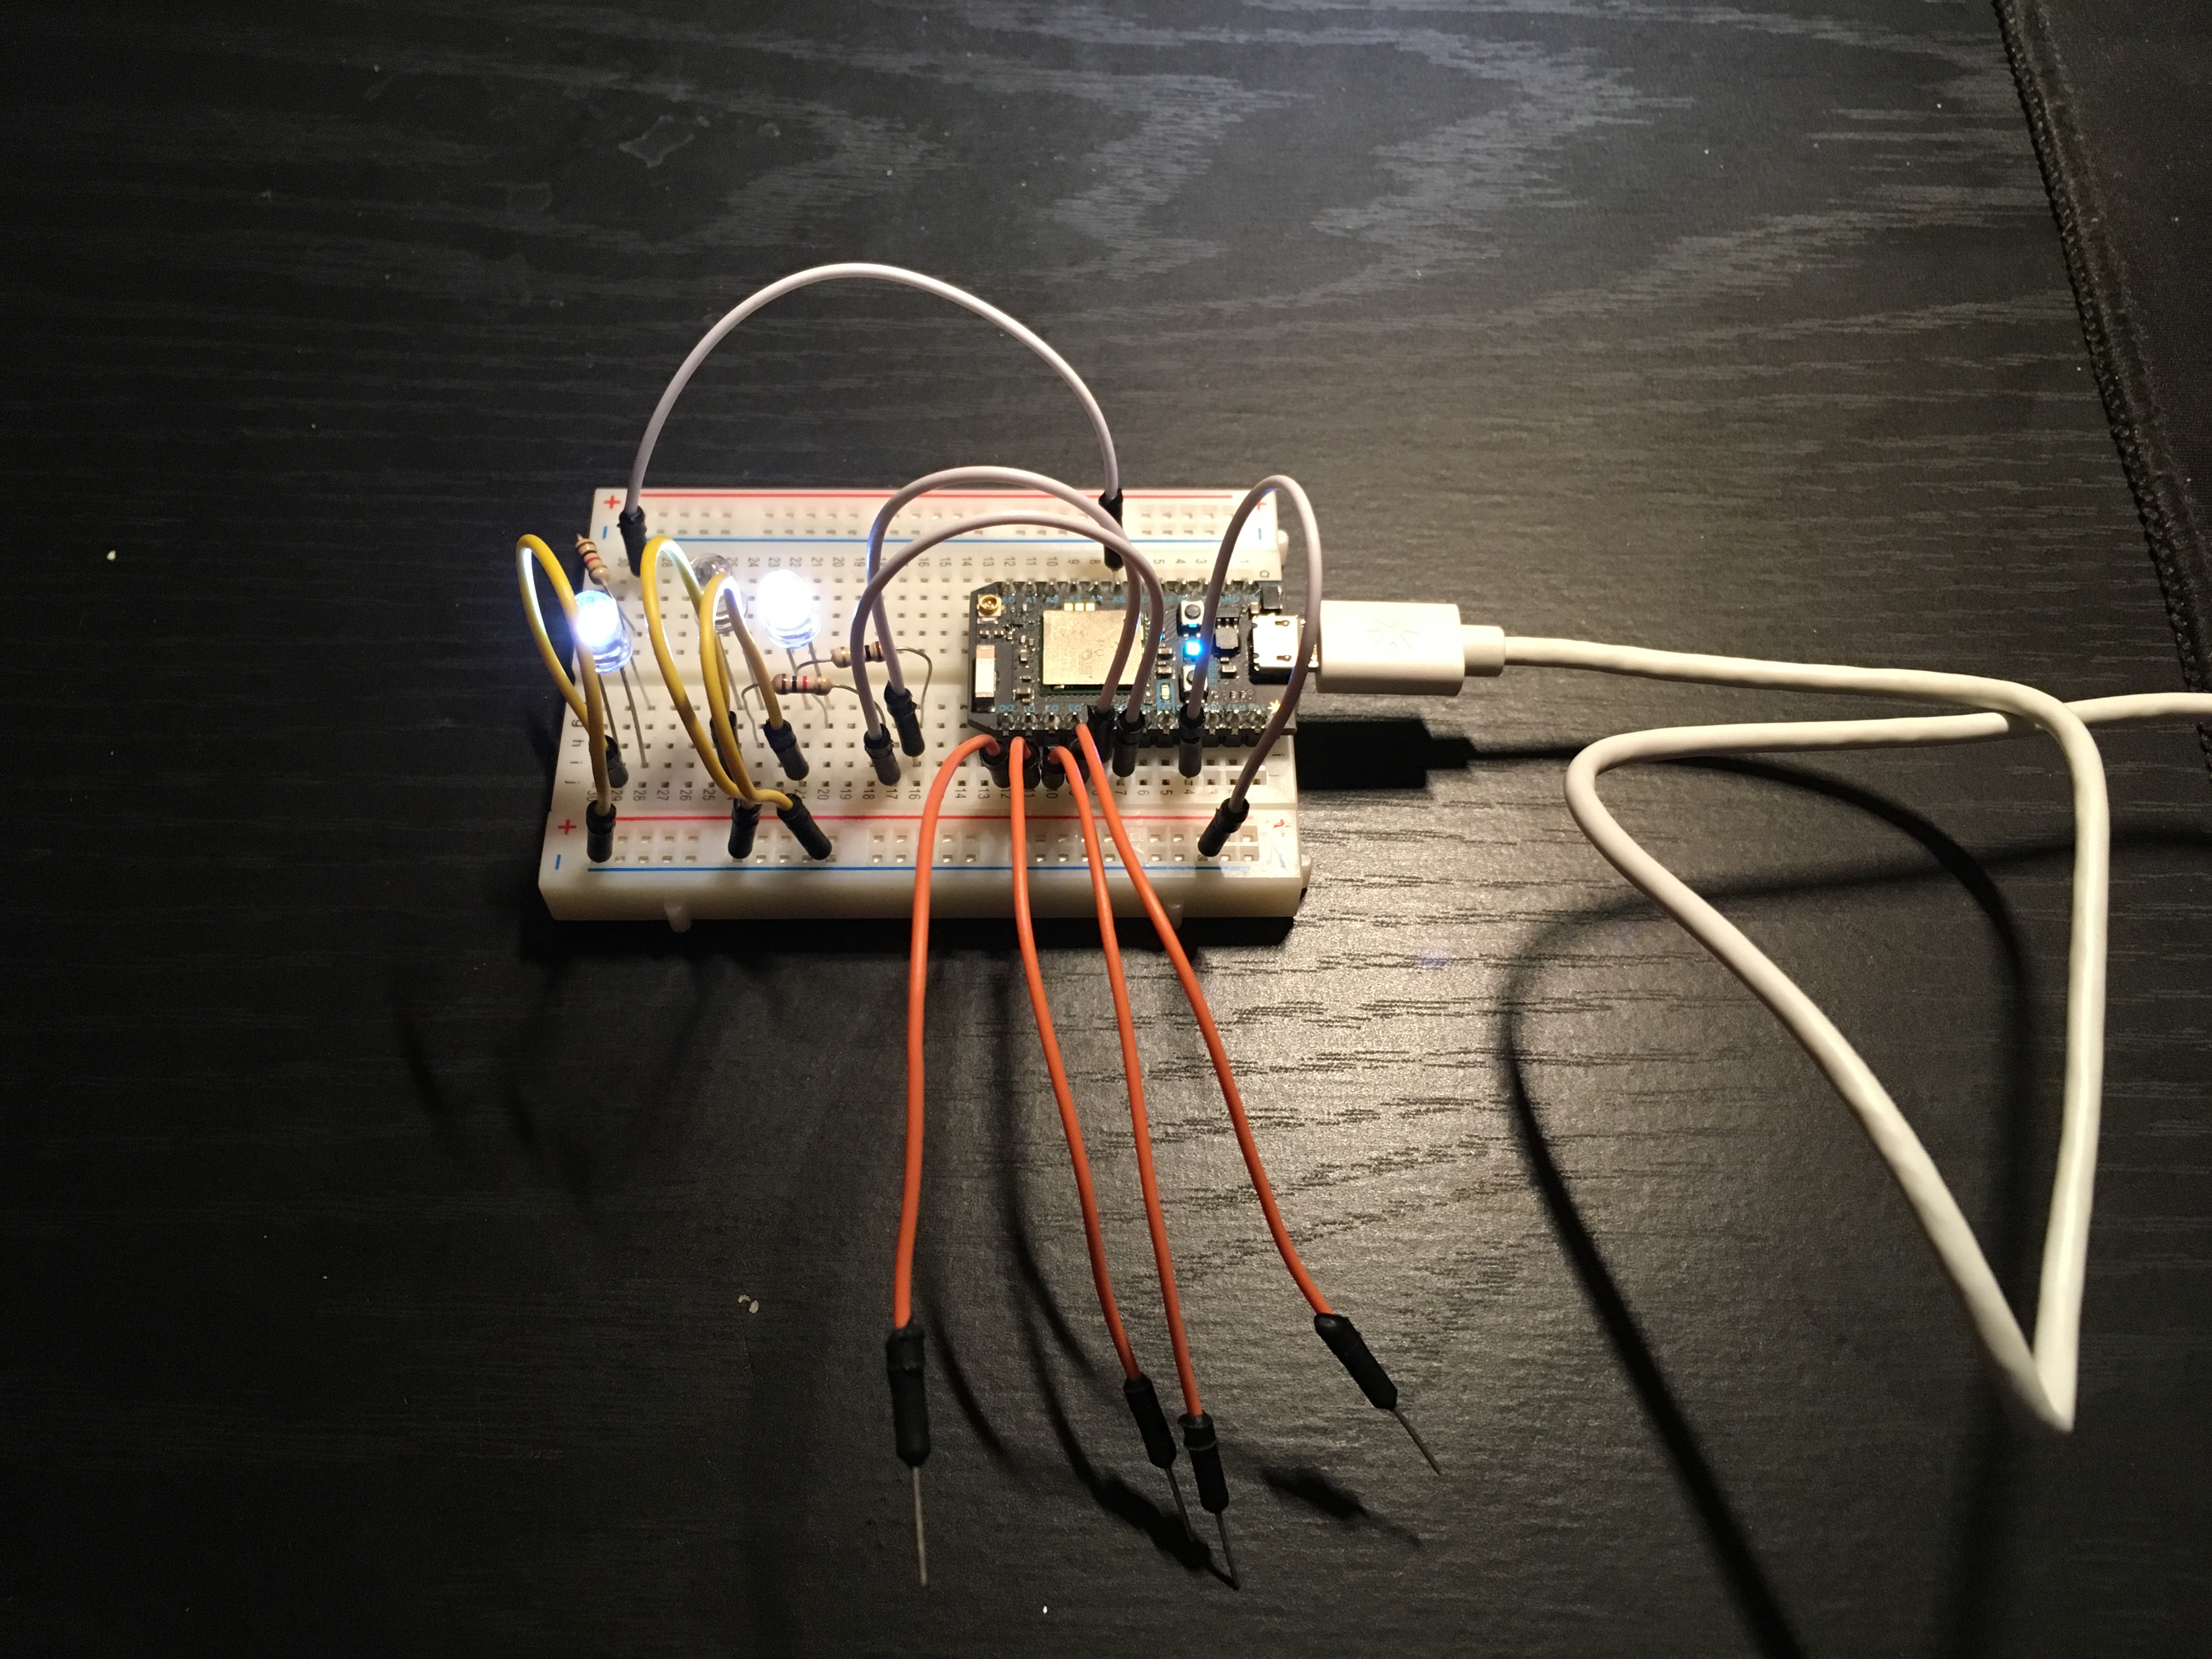
As you can see, the garage light is on because the door is moving, and the LED representing the door being in an opening state is also on. If I touch the door button input wire to GND, the LED representing the door being in an opening state will switch off, and after a specified amount of time (default 5 seconds) the garage light will fade to off. This represents the door being in a stopped state. I could have also touched the fully-opened input wire to GND, after which we would also observe the same light behavior, although the system would be in a fully-opened state instead of a stopped state.
2. Web App
Using HTML, CSS, and JavaScript, I built a simple web app to view the current state of the garage system and to control the system. I also added features not available on the hardware side, such as a toggle-able garage door auto-close function, an garage light auto-off function, and the ability to change the brightness of the garage light. I used Publish/Subscribe techniques to make it so that the web app will always be synchronized with microprocessor garage system.
I have included a few screenshots of the web app below.
Screenshot 1: Login Page
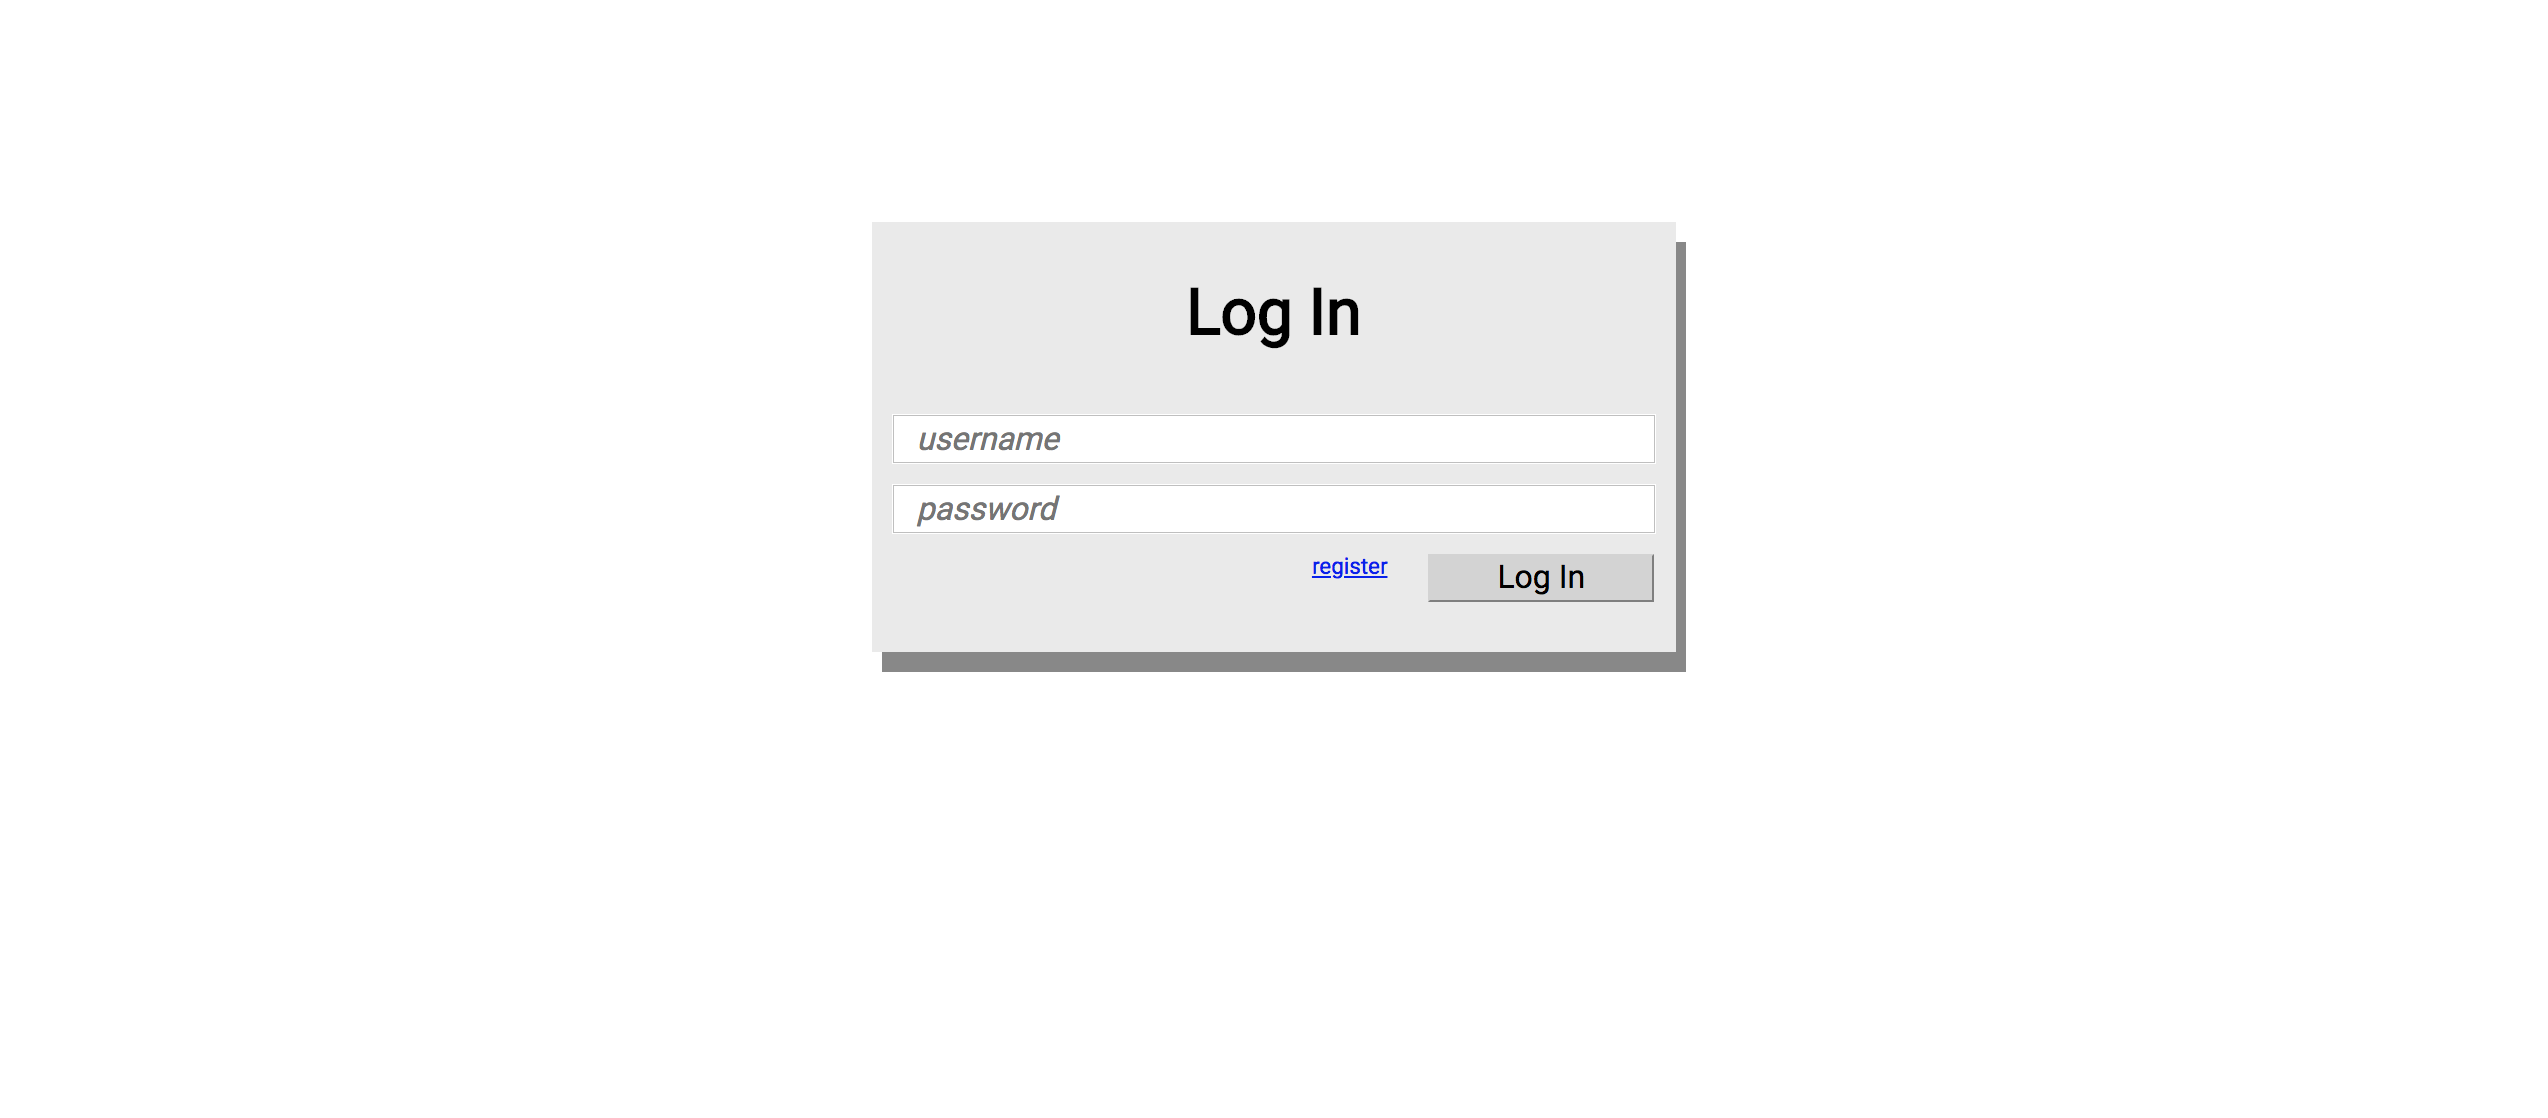
The screenshot above shows Login Page, whose only purpose is to make sure that the web app has established a connection to the Particle Photon microprocessor. If the web app has not established a proper connection to the microprocessor, then the “Log In” button will be greyed out. Clicking on the “Log In” button will navigate the user to the Control Panel Page.
Screenshot 2: Control Panel Page 1
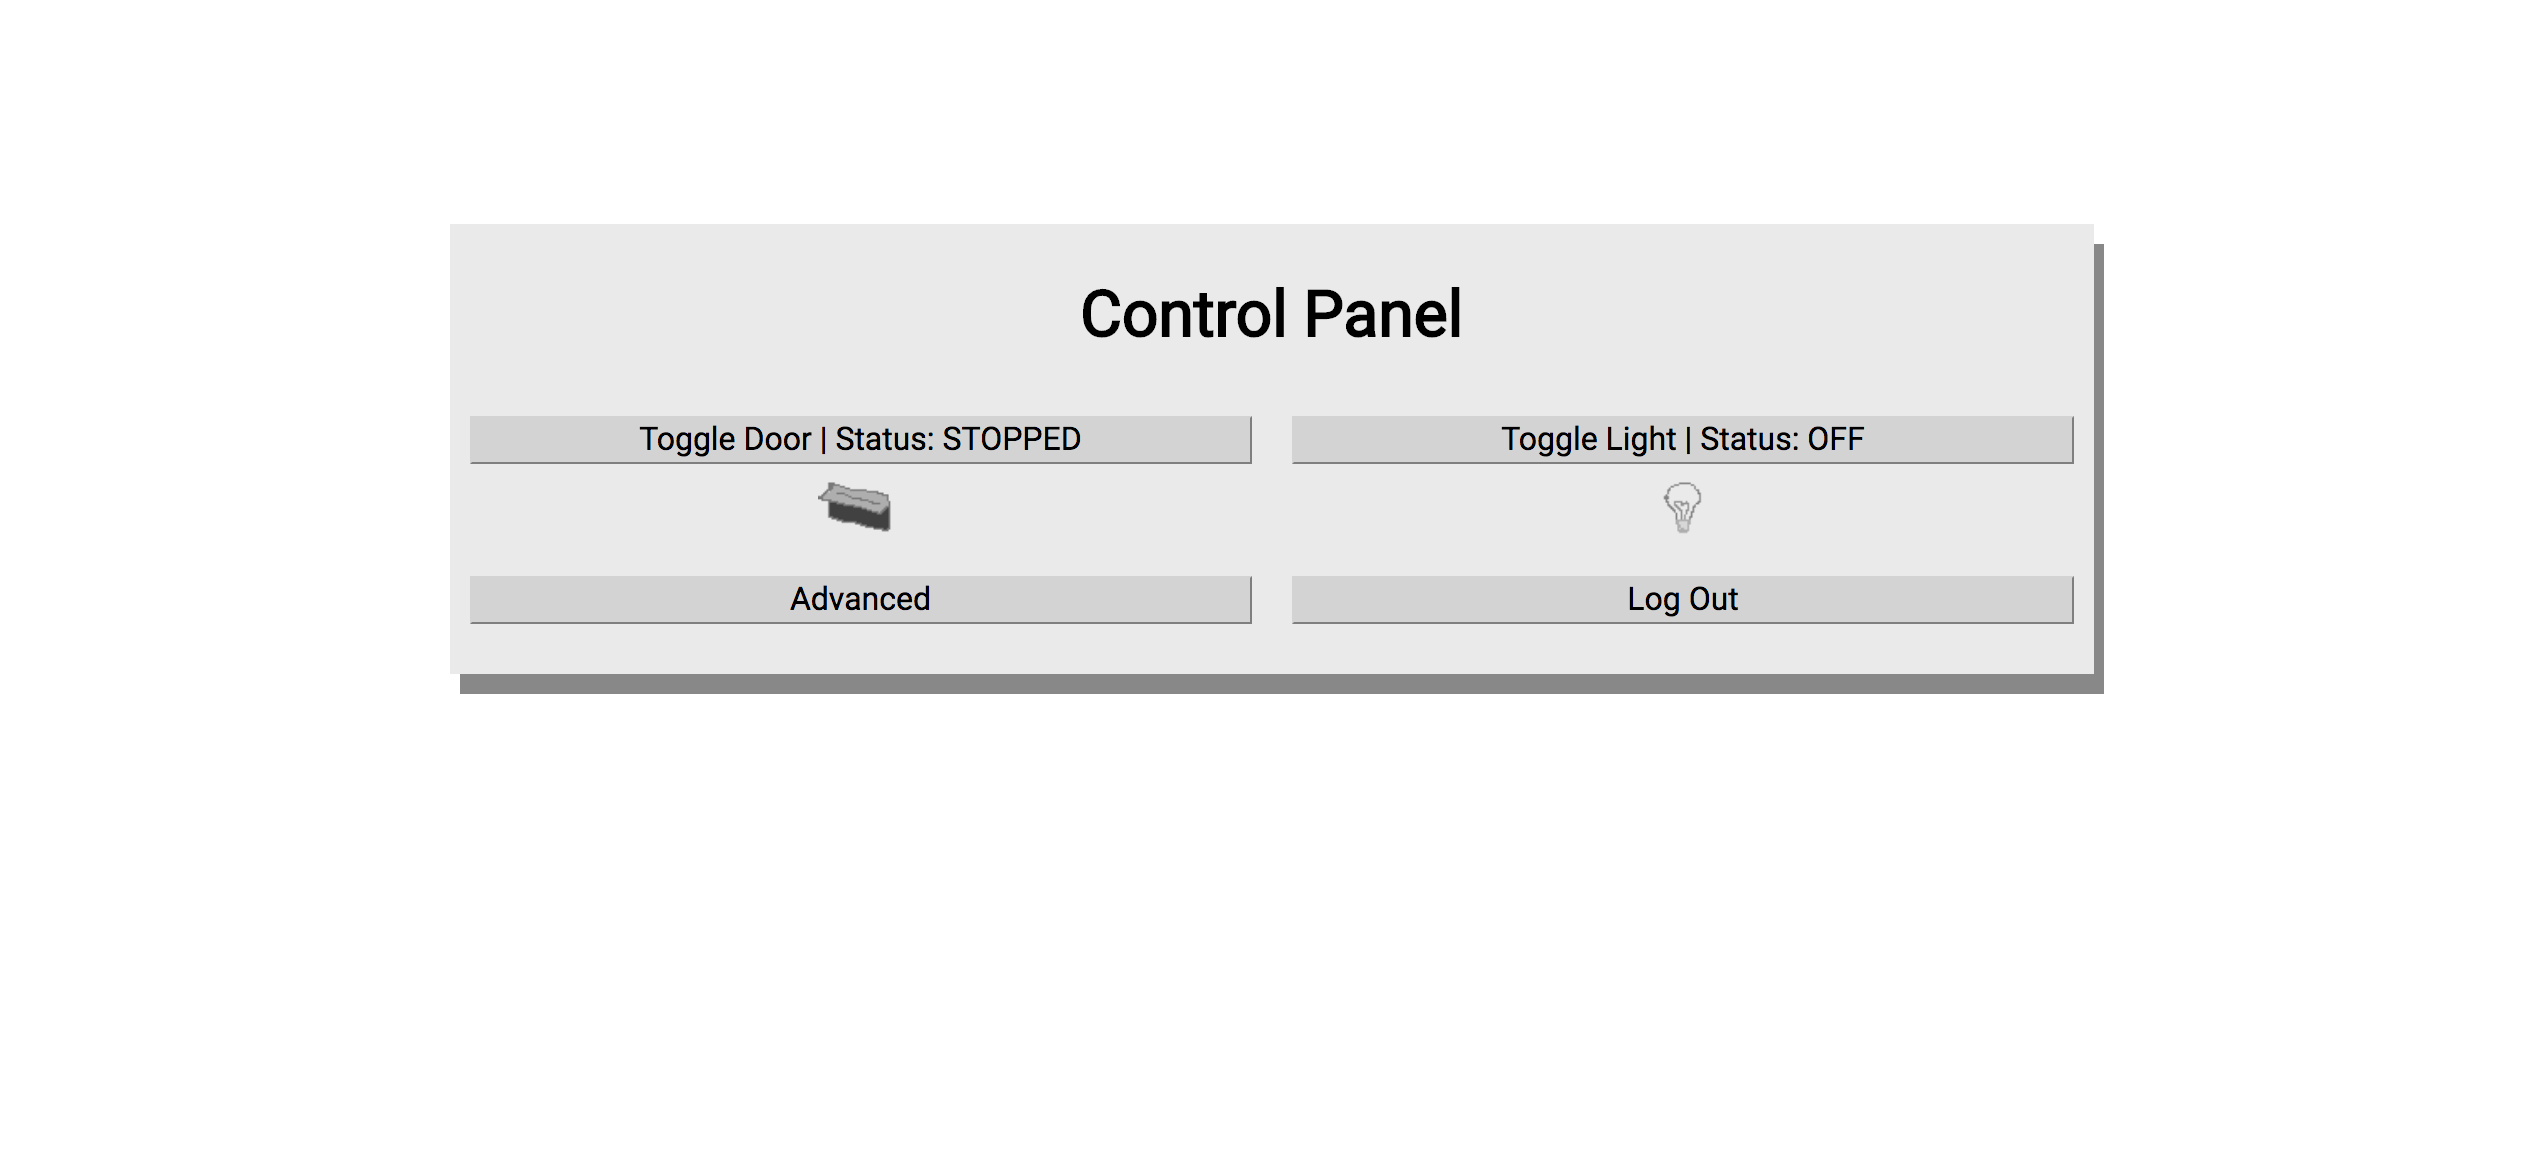
The screenshot above shows the Control Panel Page.
- The Control Panel Page gives users the option to toggle the garage door (which equivalent to pressing the real garage door button), to toggle the garage light manually, or to navigate to advanced options.
- With the use of publish/subscribe techniques, this page always displays an updated status of the garage door and garage light. For instance, upon opening the web app for the first time, the web app will fetch the current status of the garage system rather of displaying default values.
- Every action made on the web app is first relayed to the garage system microprocessor; upon performing a successful action, the garage system microprocessor then relays a message back to the web app telling it to update.
Screenshot 3: Control Panel Page 2
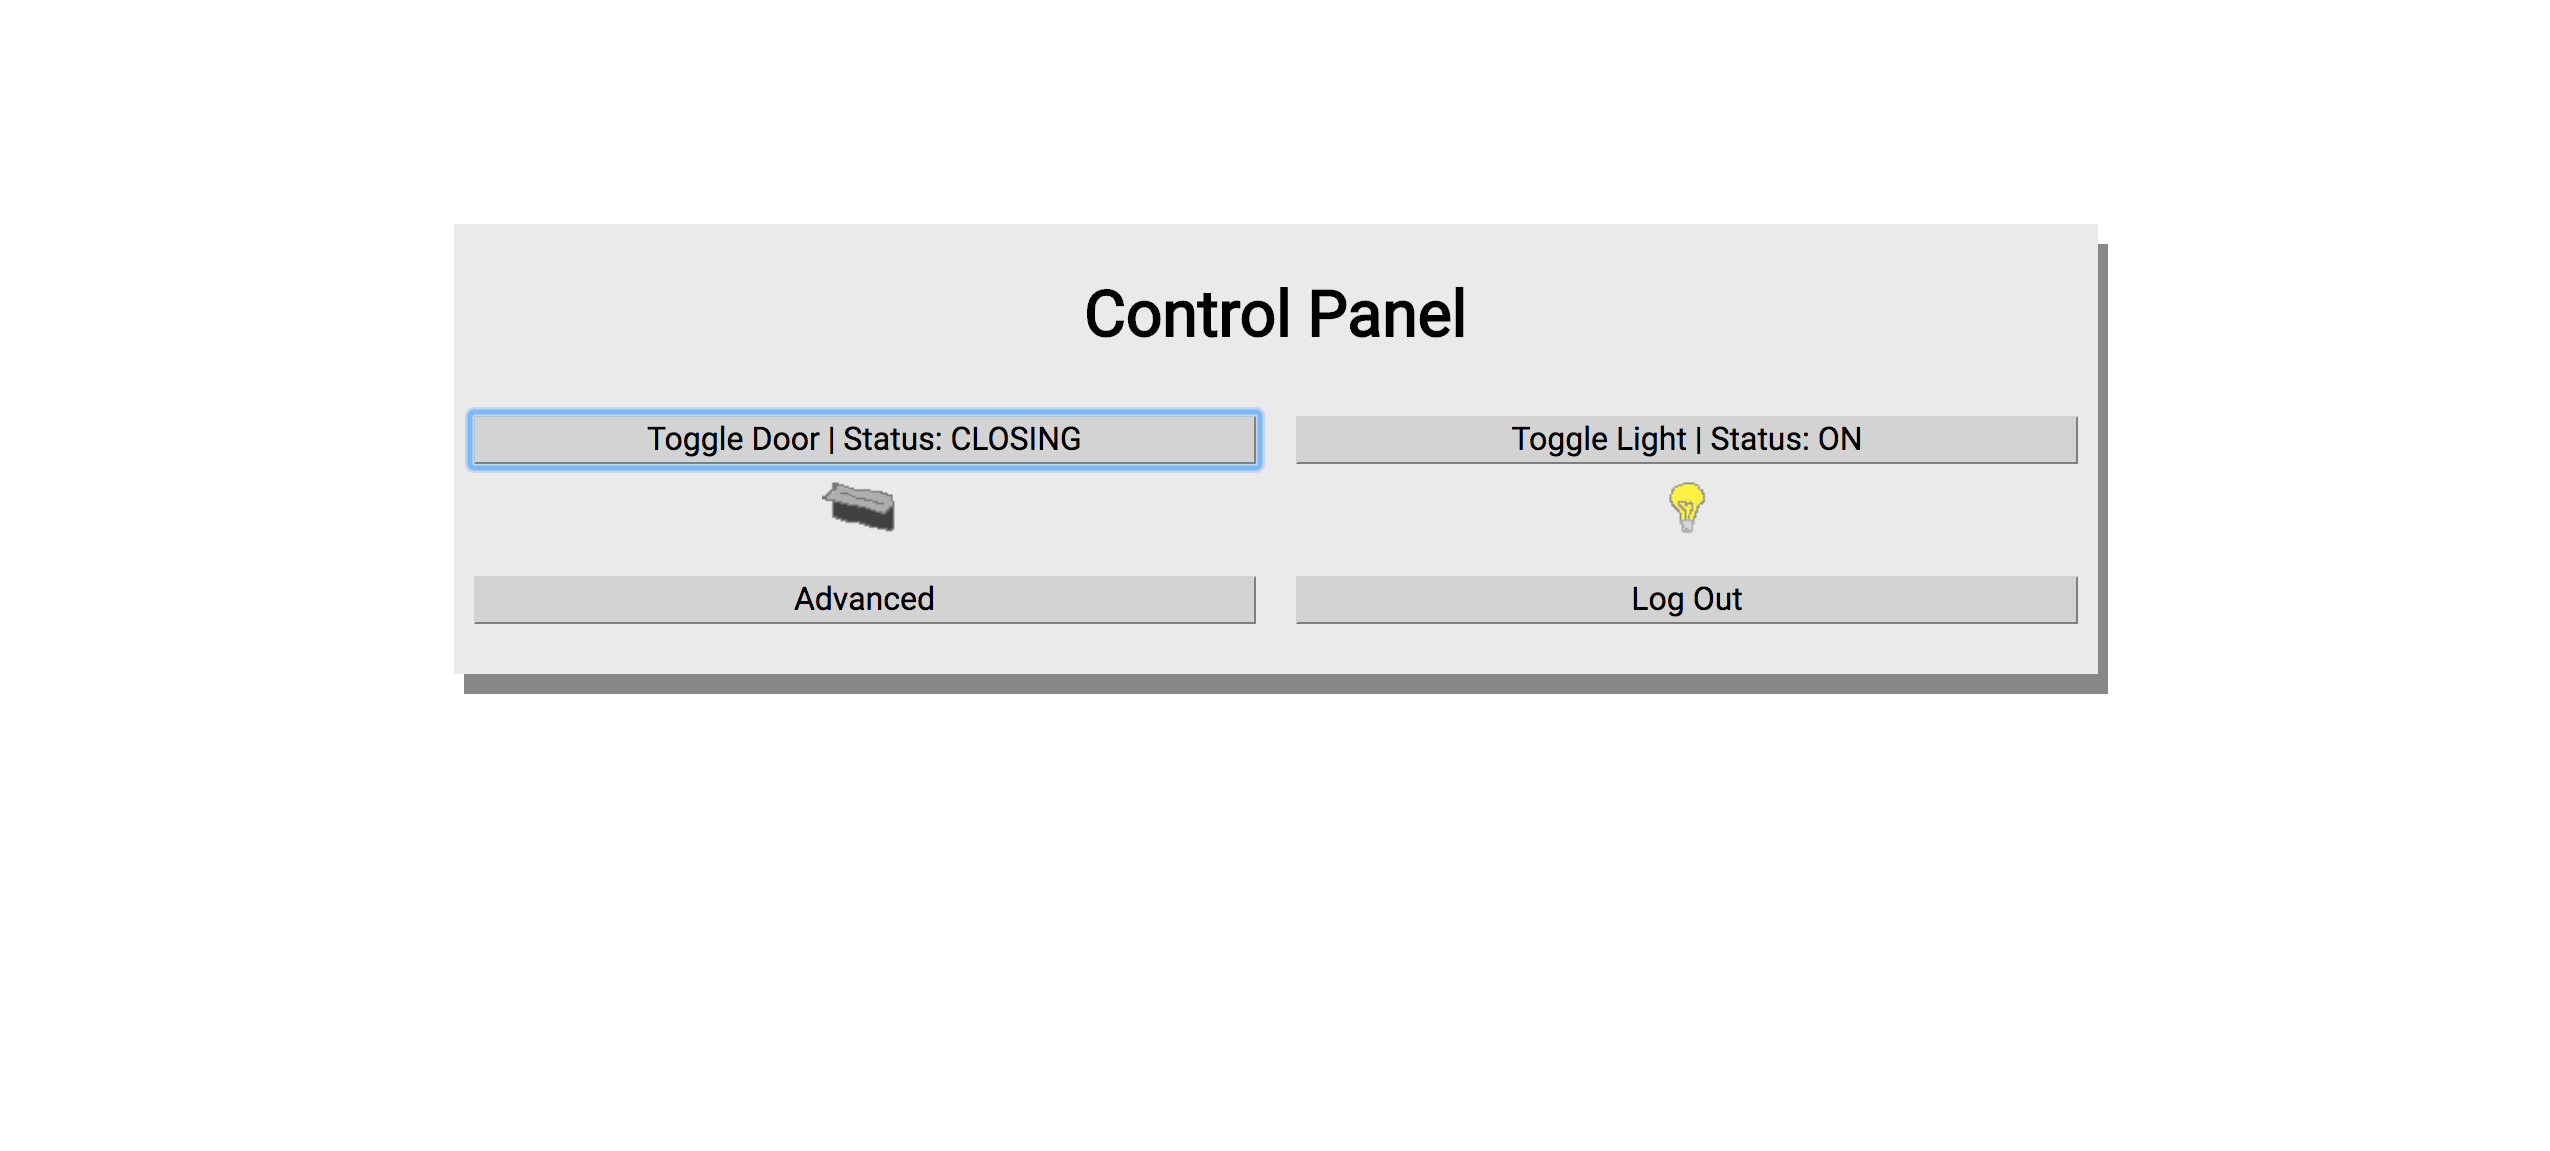
The screenshot above shows the Control Panel Page after clicking on the “Toggle Door” button.
Screenshot 4: Advanced Features Page
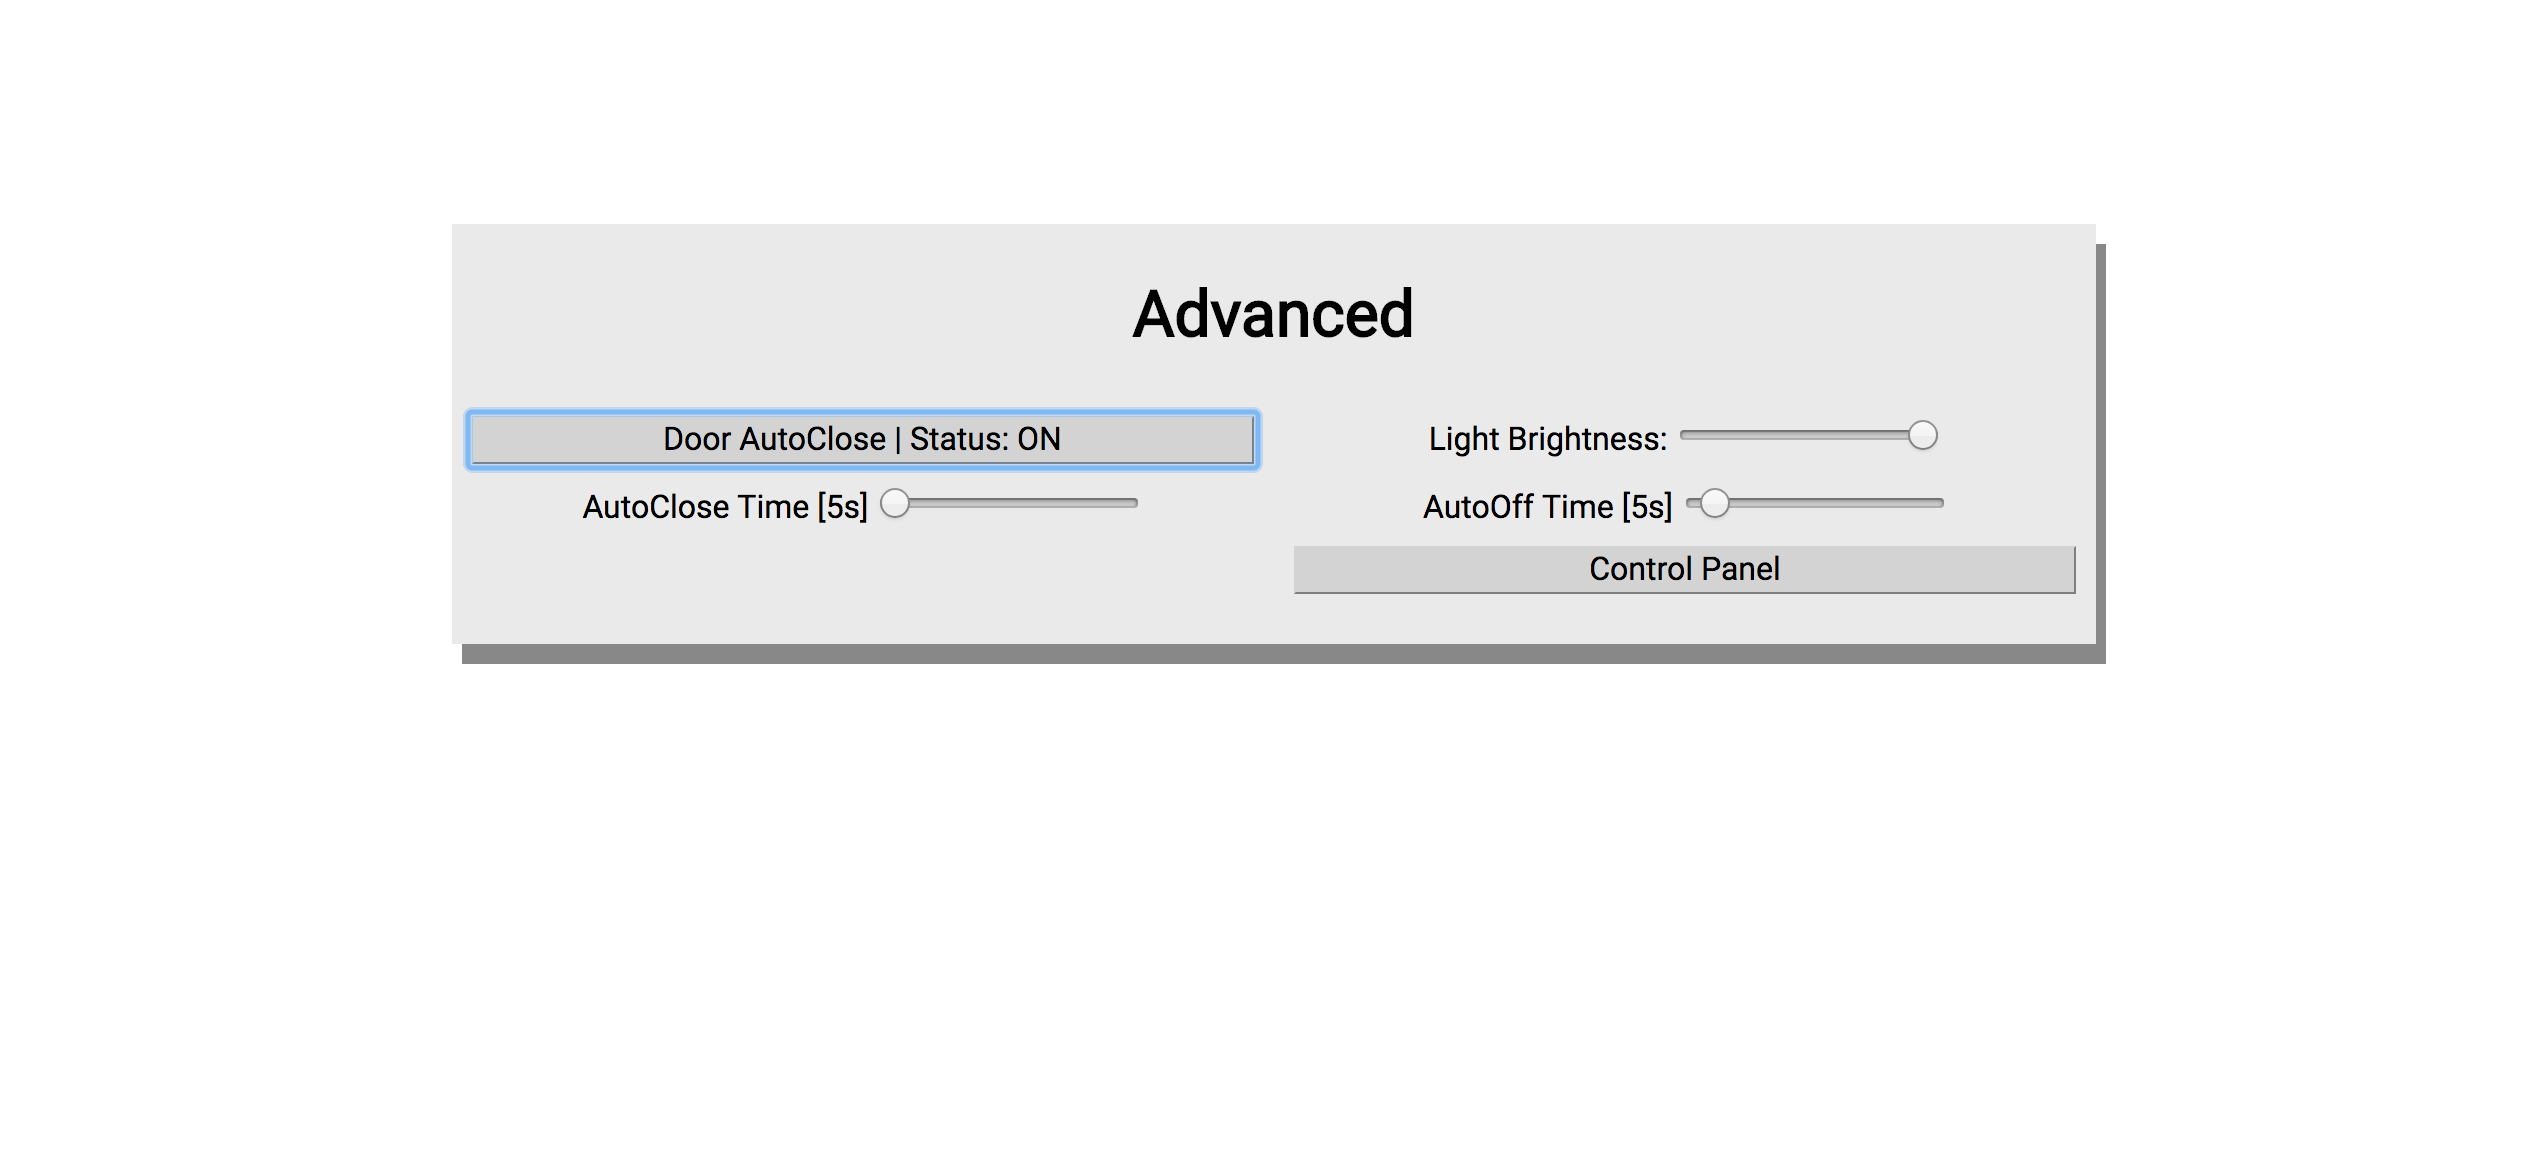
The screenshot above shows the Advanced Features Page. Here the user can tinker with additional features, such as auto-closing the garage door after a specified period of time, automatically turning off the garage light after a specified period of time, and setting the maximum garage light brightness. All of these features are compatible with standard garage systems as the logic is built into the microprocessor, not the garage itself.
The web app conveniently allows users to access all primary garage functions, as well as more advanced garage functions, from any web browser. I built the web app to be responsive, so all pages and functions display nicely on both desktop and mobile browsers.
3. Mobile App
To further improve on user experience, I decided to build a mobile app to complement the existing web app. Adobe PhoneGap offers an easy way to transform any responsive web app into a mobile app with minimal extra coding. However, the resulting mobile app is noticeably slower compared to native mobile apps, and lacks the look and feel of the native OS. Aside from actually building the mobile app in native code (which offers the best performance), there are many other options for building mobile apps; for instance, Microsoft’s Xamarin, Facebook’s React Native, or Google’s Flutter.io.
The option I chose was Ionic, which uses AngularJS to build mobile apps. As I had already built a web app, I thought I could reuse some of the code from the web app and have an easier time building the mobile app. Turns out I wasn’t able to reuse any of the code, and I had to build both the UI and the app logic for the Ionic mobile app ground up. I ended up spending a lot of time figuring out how to use the Particle API in AngularJS because although there is documentation on how to use it in plain JavaScript, I couldn’t find any documentation on how to use it in AngularJS and Ionic’s project structure. Despite all this, in the end I was able to build a mobile app I was quite happy with.
I have included a few screenshots of the mobile app below.
Screenshot 1: Login Page
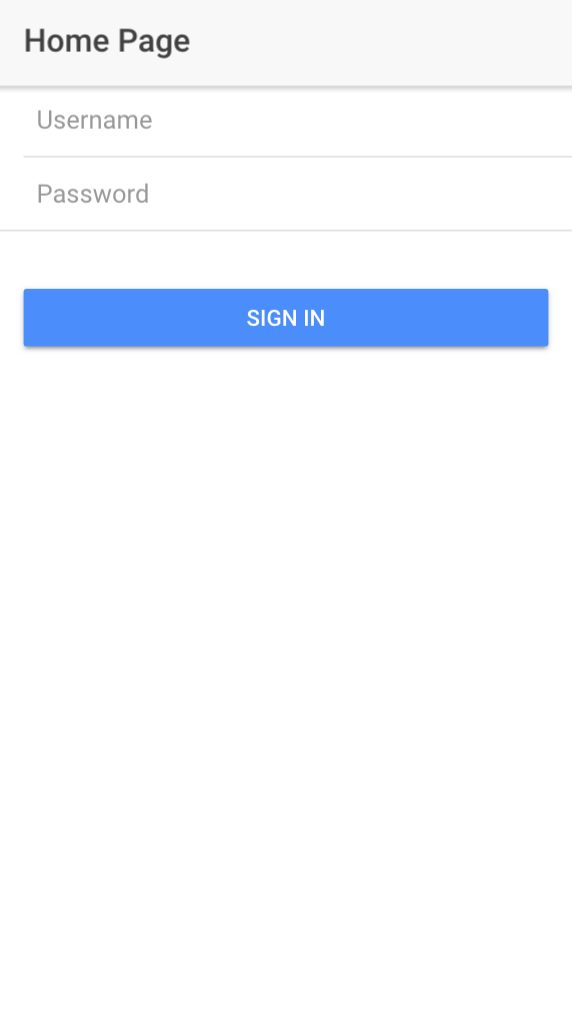
The screenshot above shows the Login Page. Like the web app, the mobile app is always updated relative to the microprocessor controlling the garage system. If the mobile app can’t establish a connection with the microprocessor, then the “Sign In” button will be disabled.
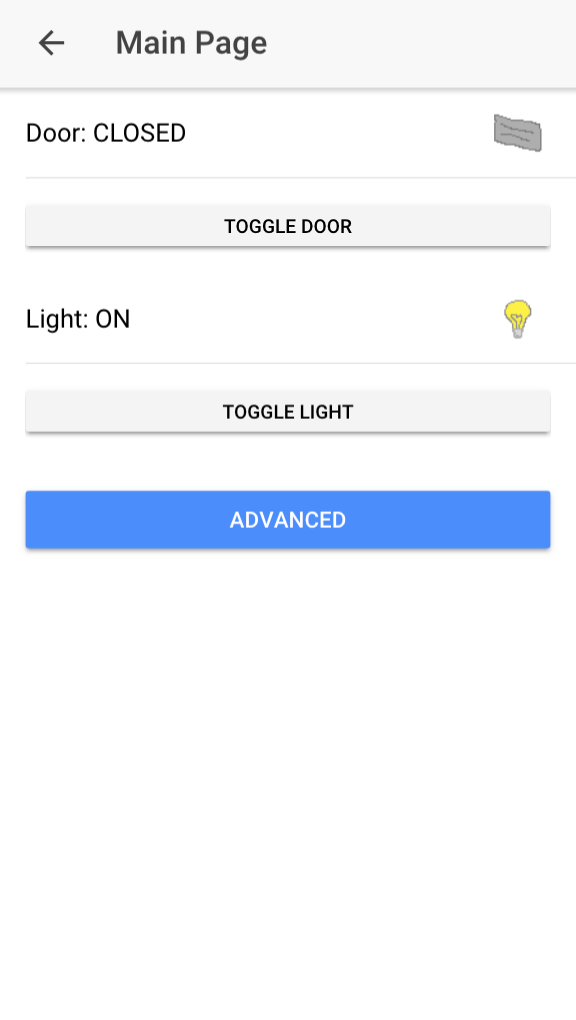
Screenshot 2: Control Panel Page 1
The screenshot above shows the Control Panel Page, which includes the same features from the same page in the web app.
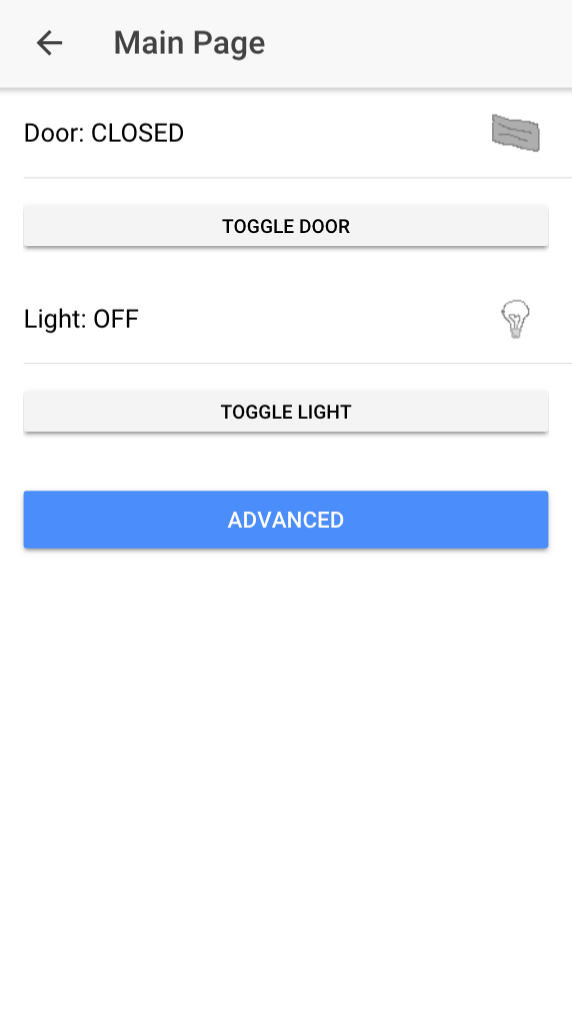
Screenshot 3: Control Panel Page 2
The screenshot above shows the Control Panel Page after the garage door has just been closed. The light is still on because not enough time has elapsed for the garage light auto-off timer to trigger.
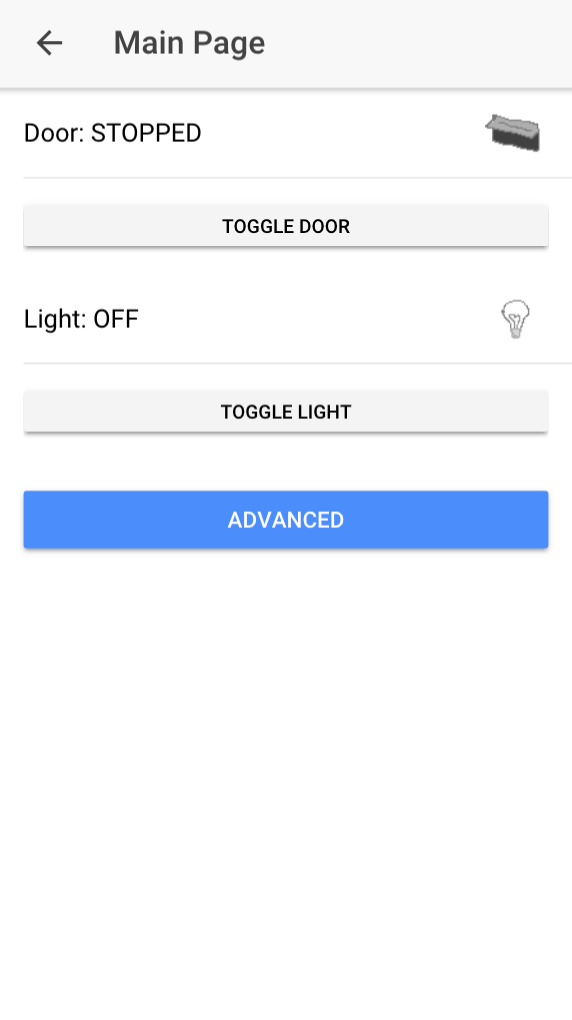
Screenshot 4: Control Panel Page 3
The screenshot above shows the Control Panel Page after the garage door has been closed and enough time has been elapsed that the garage light auto-off timer has turned off the garage light.
Screenshot 5: Advanced Features Page 1
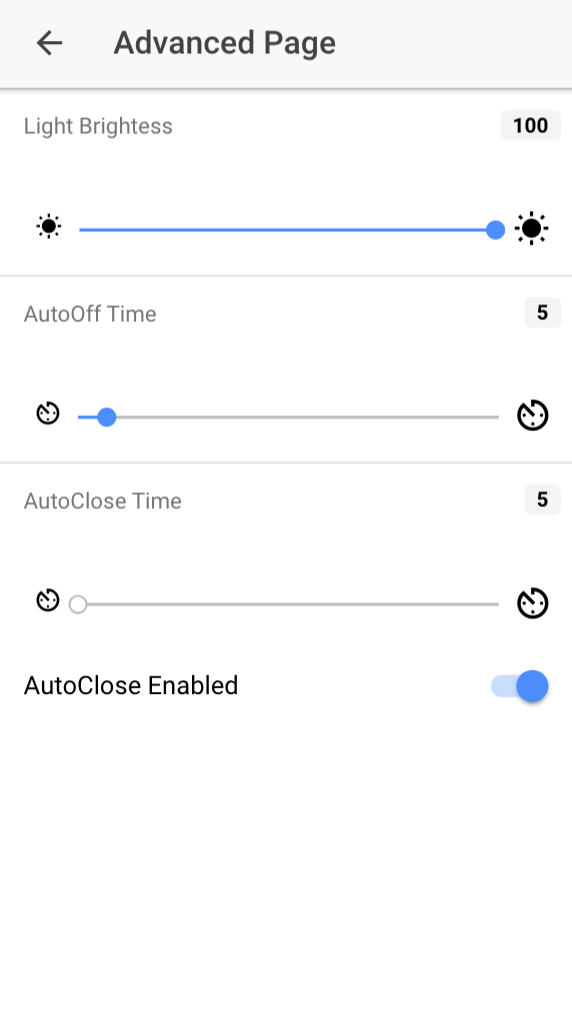
The screenshot above shows the Advanced Features Page, which includes the same features from the same page in the web app.
Screenshot 6: Advanced Features Page 2
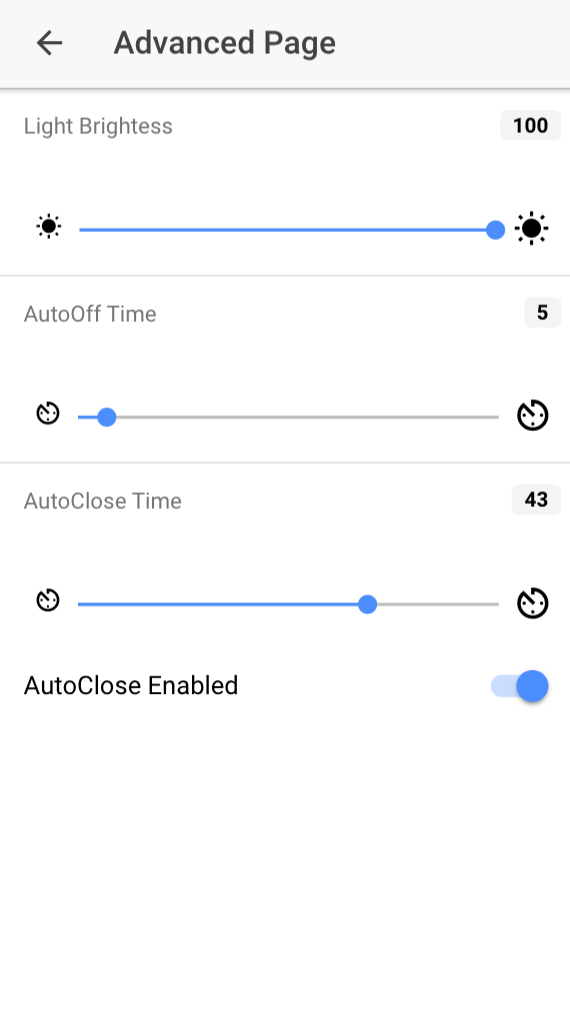
The screenshot above shows the Advanced Features Page, where the garage door auto-close time has been set to 43 seconds. This means that, if AutoClose Enabled is toggled to true, then whenever the garage door is stopped midway or opened fully, then 43 seconds later the microprocessor will start the closing process for the garage door.
tags: iot - ionic - particle