Zhi Shen Yong
My name is Zhi Shen Yong and I am a software developer. Here you can find a few of the projects I have worked on in the past. Please feel free to contact me for any additional information.
21 July 2019
Building a Client-Side Dynamic Website with Node.js and jQuery
In this project, we will be adding asynchronous client-side dynamic functionality to the static Node.js website we built in this last project.
In contrast to static websites, dynamic websites have the ability to update or change their content using scripting languages like JavaScript. Asynchronous dynamic websites can perform content updates without requiring the page to be refreshed.
In the asynchronous web, it is possible to deliver spontaneous presentation changes to the user as the state of a dynamic system changes.
To start, let’s import jQuery into our website. jQuery is a JavaScript library designed to simplify HTML DOM tree traversal and manipulation, as well as event handling, CSS animation, and Ajax. There are multiple ways of doing this, but the easiest way is to simply include the jQuery CDN in our index.pug file. Add this code to the bottom of your body tag:
body
	//- Other stuff
	script(
		src='https://code.jquery.com/jquery-3.4.1.js'
		integrity='sha256-WpOohJOqMqqyKL9FccASB9O0KwACQJpFTUBLTYOVvVU='
	    	crossorigin='anonymous'
	)
Observe that including the jQuery in our index.pug file is not very different from how we would include it in a normal HTML file. Now that jQuery is included in our website, let’s add a text field and a button to our website, and some JavaScript that detects when the button is pressed. First, let’s add the text field and button. Replace the code in your div(class='card-header') tag with the following code:
div(class='row')
    div(class='col-4 pt-2')
        strong My List
    div(class='col')
        div(class='form-row align-items-center')
            div(class='col')
                input(id='new-item-field' type='text' class='form-control' placeholder='Item Name')
            button(id='new-item-button' type='button' class='btn btn-outline-secondary') Add Item
If you refresh your page, you should see that a text field and a button has been added to your card header of your grocery list. It should look something like this:
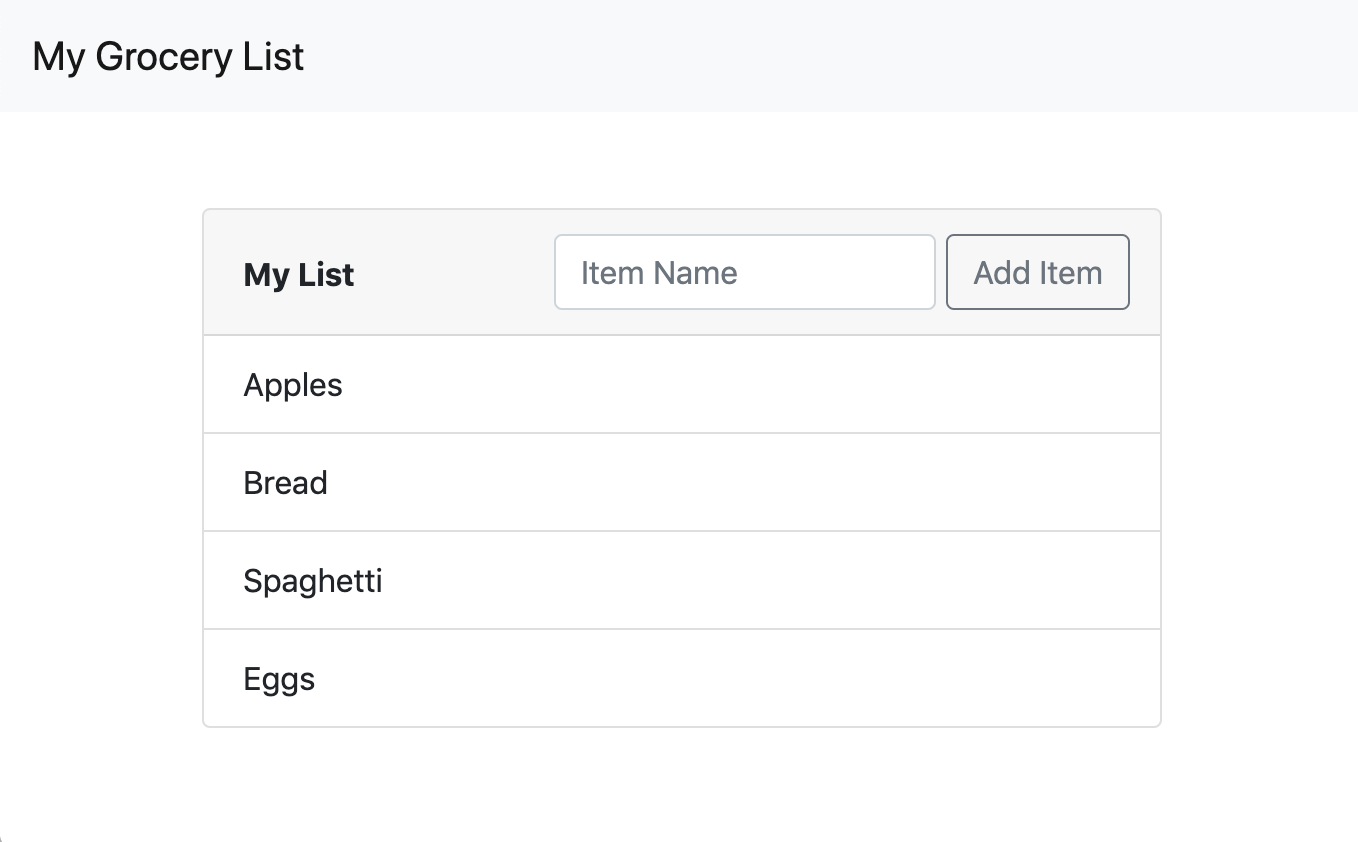
Pressing the button does nothing at the moment. Let’s change that. Observe in the code above that we assigned an id of new-item-button to the button. Similarly, we assigned an id of new-item-field to the text field.
Using jQuery, we can add event handlers to these two DOM elements by simply referencing their id. Add the following block of code below the code that includes the jQuery CDN:
body
	//- Other stuff
	script.
		$(document).ready(() => {
			$('#new-item-button').click(() => {
				console.log($('#new-item-field').val());
			});
		});
In Pug, enclosing code in a script. tag indicates that the code should be treated as inline JavaScript code.
In the code block above, we are telling jQuery to add a click event handler to whichever DOM element has an id of new-item-button. This happens to be our button element, so whenever the button is clicked, the code in the click() function is called. The code we have in the click() function logs a message to the JavaScript console. In this case, the message we are logging is the value of whichever DOM element has an id of new-item-field. This happens to be our text field. So, whenever the button is clicked, we will log whatever text is written in the text field to the JavaScript console.
jQuery supports many kinds of event handlers. Read more about what the kinds of event handlers you can use here.
To view the client-side console, right click on the website (in the browser) and click on
Inspect. Then, in the top-right corner of the screen, switch from theelementstab to theconsoletab.
Enclosing the event handler in $(document).ready() tells jQuery to wait for all the elements in the DOM to finish loading before attaching the event handler.
Success! Our website is now pseudo-dynamic. Now, let’s add some code that will create additional visible HTML elements on every click instead of just logging something to the console. Let’s make it so that whenever we click the button, we add a new row to our grocery list with whatever text is written in the text field. First, we need to add an id to the ul tag because we need jQuery to be able to grab that DOM element. Change the current ul tag to this:
ul(class='list-group list-group-flush' id='main-list')
Now, let’s edit our click event handler to add a new li element with the value of whatever is written in the text field to our ul tag.
$(document).ready(() => {
    $('#new-item-button').click(() => {
        $('#main-list').append('<li class="list-group-item">' + $('#new-item-field').val() + '</li>');
    });
});
Notice that now whenever we click the button, we call the append() function on whichever DOM element has an id of main-list, which happens to be our ul element. The jQuery append() function inserts content to the end of an element. In our case, we are appending a li element, which is represented visually as adding one more item to our grocery list.
Even though we are building our website in Pug syntax, remember that Pug will compile to plain HTML on runtime. This means that when we are writing jQuery functions that add elements into the DOM, we need to specify those elements in plain HTML and not in Pug syntax.
Upon refreshing the page, you should now be able to write something in the text field, press the button, and see it appear asynchronously on the end of your grocery list.
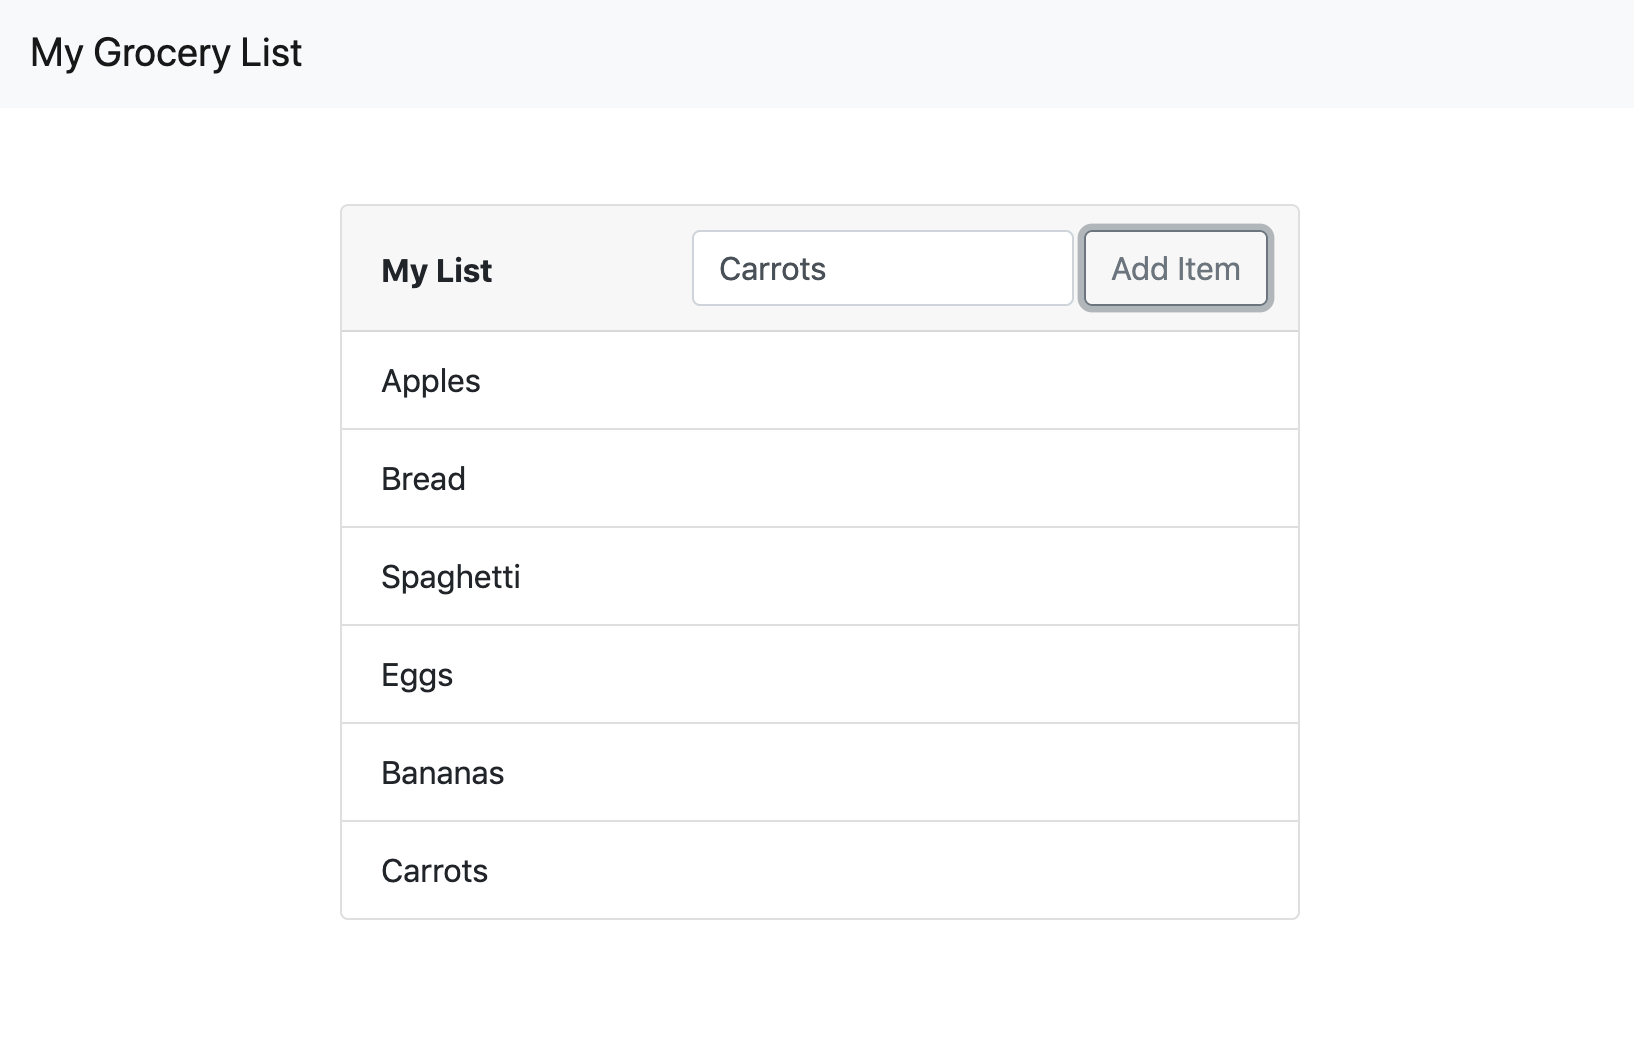
At this point, our website is now fitted with client-side dynamic functionality. Client-side dynamic functionality is distinct from server-side dynamic functionality in the sense that dynamically updated information is not stored across client sessions; if you refresh the page, you’ll see that the items you added to the grocery list disappear.
To retain dynamically updated information across client sessions, we need to add server-side dynamic functionality. To learn how to do this, check out my post on adding server-side dynamic functionality to Node.js websites here.
tags: node - jquery - javascript